DIY

Tutorial Membuat Moon Sand

12:11 PM

Setelah ada bayi, sepertinya jam main sama si Aa nya agak berkurang. Jadilah nge pinterest lagi buat cari ide bikin mainan yang gampang dan ngga butuh bahan banyak. Biar anaknya jadi hepi ngga mainan itu-itu mulu. Setelah mengulik-ulik dan akhirnya nemu bebikinan pasir. Bahannya cuma 2 macem saja pula. Langsung deh eksekusi.

Pasirnya ini sifatnya jadi gampang dibentuk-bentuk seperti pasir kinetik. Tapi beda tekstur kalau sama pasir kinetik. Lumayan buat maen montessory-montessory an. Saya bikin tema seperti di construction site gitu. Karena Dzaka punya truck-truck buat angkut pasir. Bocahnya sedang suka sekali sama semua yang berhubungan sama truck dan vehicles.


Kalau untuk anak perempuan bisa lho dibuat seperti mainan masak-masakan. Tinggal bawa alat cetak makanan yang lucu-lucu. Kalau saya, pasirnya dibuat menyembunyikan truck-truck kecilnya. Jadi dia bawa sendok kecil buat nyari truck-truck nya. Soalnya bocahnya ini ngga suka main kotor-kotoran. Pakai pasir gini bisa sekalian belajar main kotor-kotoran. Alhamdulilah berhasil! Anaknya ngga nolak malah nagih.

Moon Sand (Inspired from here)

Bahan :
- Tepung Terigu (Saya pakai tepung ketan soalnya terigunya abis hihihi. Hasilnya hampir sama tapi saya lebih suka teksturnya terigu.)
- Baby Oil (kalau mau edible, baby oil bisa diganti minyak untuk masak. Pokonya bahan dasarnya oil ya)


Cara Membuat :
Tinggal campur aja sampai tidak ada yang menggumpal.
Takarannya 3 sendok tepung dicampur 1 sendok oil. Atau bisa sesukanya deh hihi Pokoknya nanti tepungnya sudah bisa di bentuk-bentuk pakai tangan. Teksturnya tidak lengket ya.


Apa bisa diberi warna? Saya kurang tau soalnya pas saya tetesin pewarna makanan ngga kecampur gitu sama adonan tepung+minyaknya. Sepertinya karena pewarna makanannya bahan dasar air kali ya. jadi air ketemu oil ngga nyampur (sotoy). Warna putih pun ngga mengapa bundaaa yang penting esensi maennya kan.

Peernya setelah main beginian tentu saja ngebersihannya. Malas sekali akutu bersihin kotor-kotoran hahaha (tapi anaknya disuruh maen kotor-kotoran). Nggapapa sekali-sekali yakan jangan serig-sering. Sayang tepungnya sis.


Selamat main!!!

Love,
Szasa

Bandung

Brush Lettering Workshop With LivingLovingNet

5:02 PM

Hello again! First of all i would like to say Happy fasting to all Moslem in the world. Ramadhan Kareem everyone. May you're fasting will go smoothly and you always be healthy throughout this month. Thankfully Jakarta isnt too hot, in fact the rain always pouring hard in the afternoon.

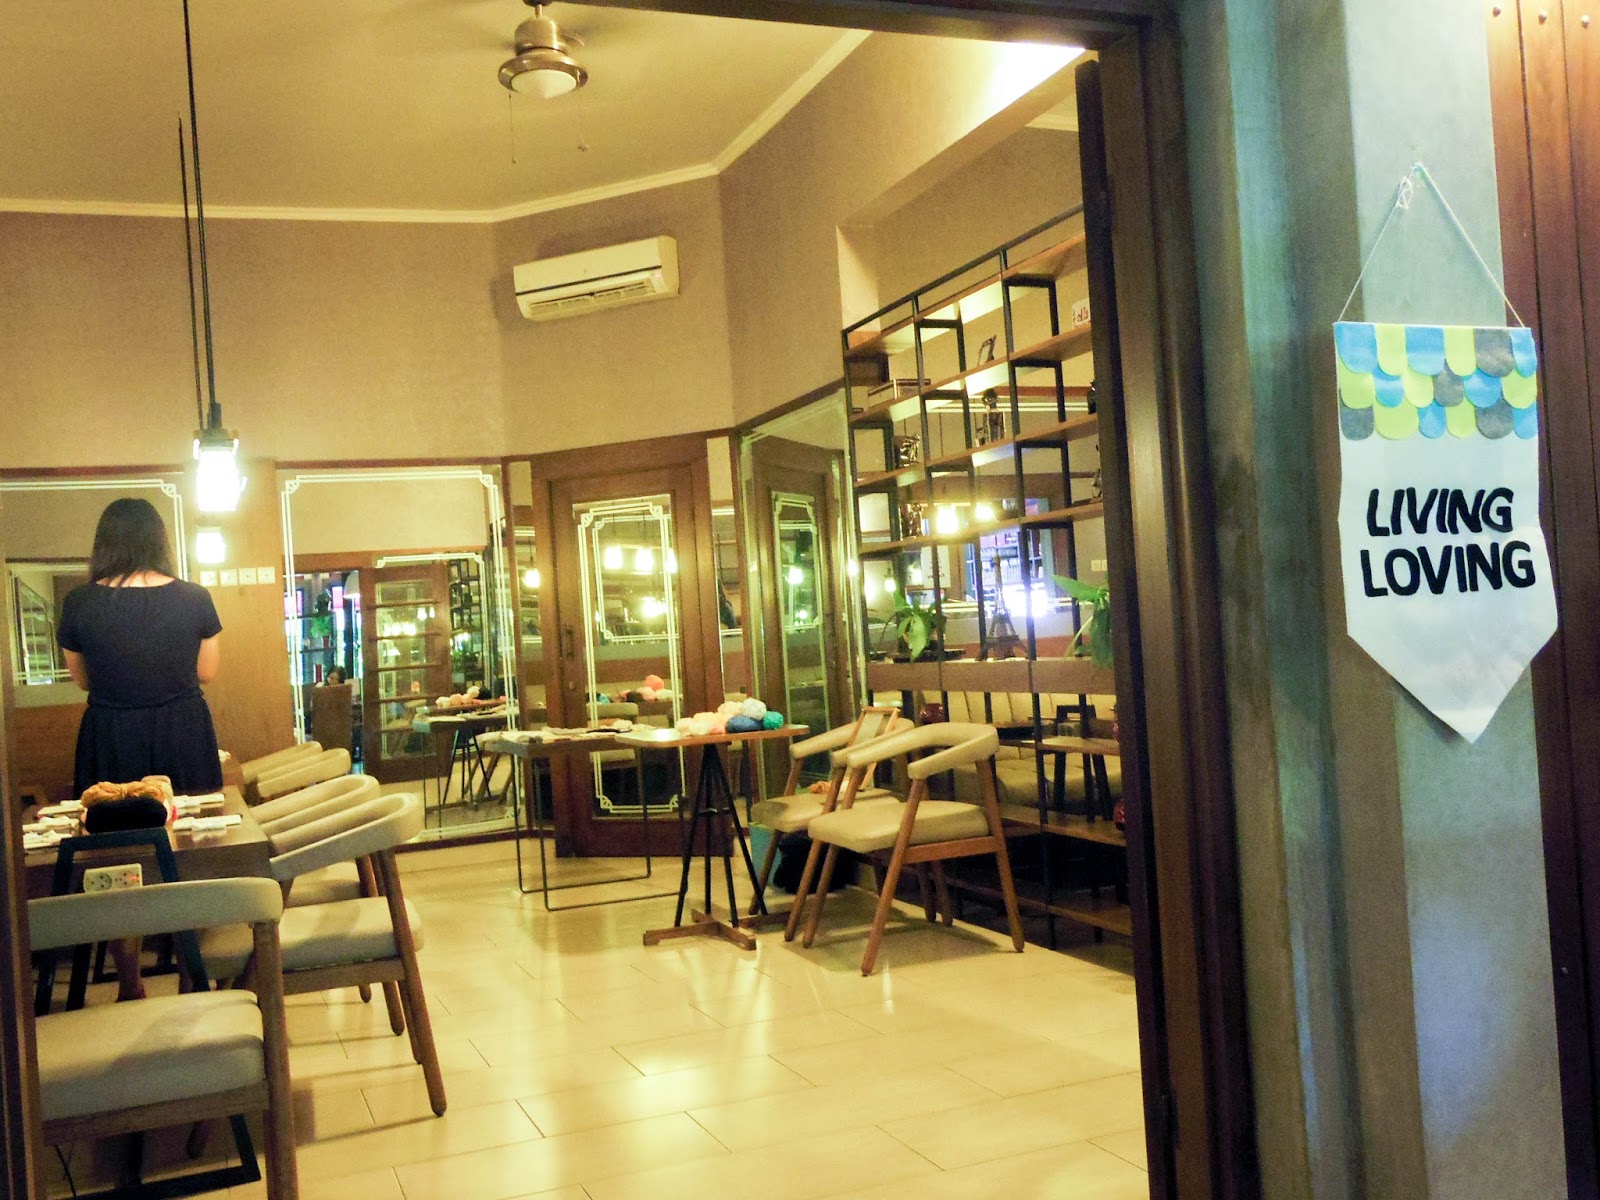
Last Saturday (two weeks ago) i was join workshop held by duo behind Living Loving, Miranti and Nike. They held two workshop in Bandung which rarely because they usually held in Jakarta. The workshops are weaving session and second one is brush lettering. The weaving session was sold out so fast haha but i was more attracted to the brush lettering session with Miranti. Go check their page to find out more about classes.

Located in Parc.C Cafe and Co-working space, i love this place. It's quite and very very good place for reading or working with your laptop. The meal and beverage is not too bad, and the price was good. With the dim light and chill music accompany while you working.


Back to brush lettering, the two sessions start at once but in different area. At first, the owner of Living Loving, Miranti and Nike gave speech about Living Loving and why they held two workshop in Bandung. They said that they came to Bandung because they need to shoot two artist's house which located in Bandung for their blog. So they decided to make workshops too.
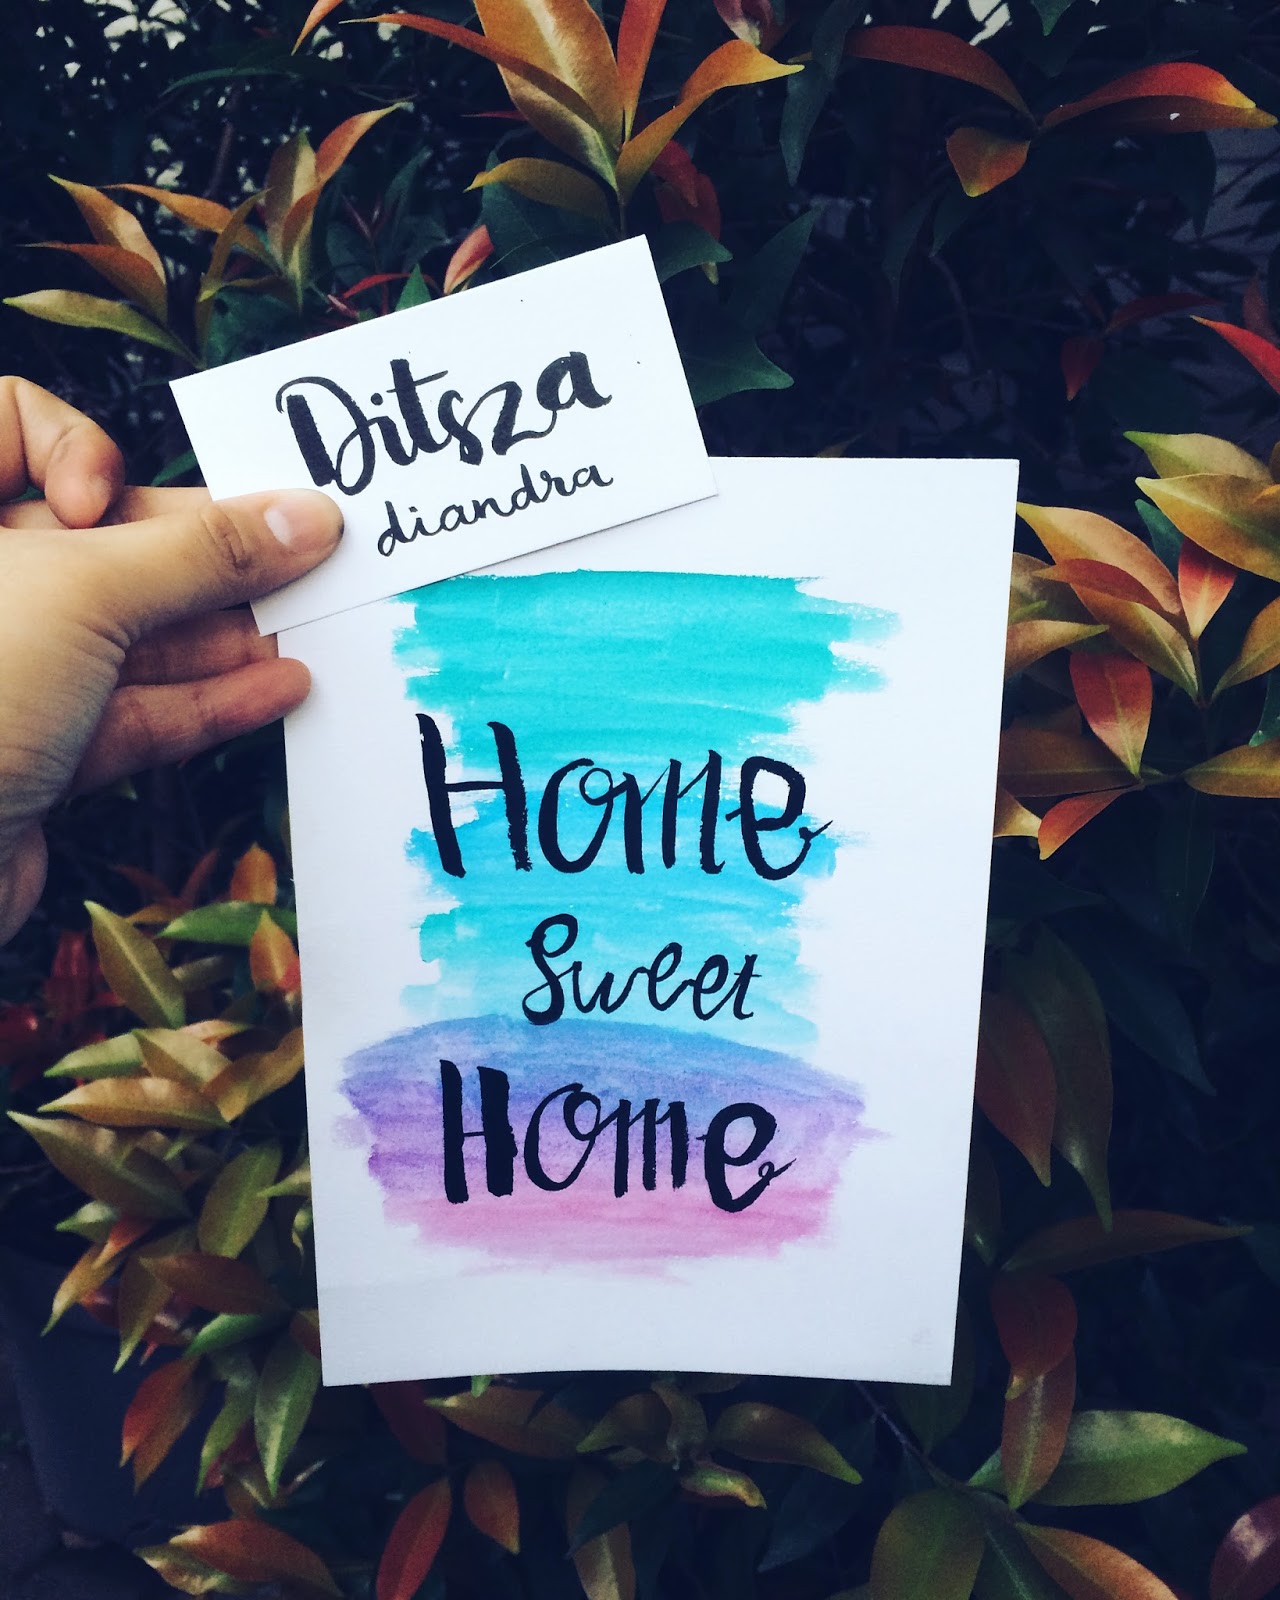
For Brush lettering, Miranti told us about the brush and ink she usually use. She teach us how to make various strokes and then we started to learn how to make the alphabet. It was so hard at first because it was my first time using brush so my hand still can not do the hard stroke. You need to relax your wrist, because it 's the main thing about brush lettering, only your wrist that need to do "dancing" with brush.


After reach Z, she told us to make simple greeting card or simple typography art. I made these two, i know one of them was kinda fail haha but still, i was proud of myself.


After finishing it Parc.C gave us yumm lunch, i tried carbonara spaghetti which really delicious. And they gave traditional drinks from Rahsa Nusantara.

Because my husband already waited me too long haha so i ask leaving early. It was a good day and experience. I will definitely join if there's another session like this.

Love,
Szasa

DIY

Heart Fringe Backdrop

12:57 PM

I made some DIY for my engagement day, so many drama included but in the end it was all done. I will try more post about DIY tutorial because i dont go out too much lately so no food and new place review hahaha.
For my engagement i want to make everything by myself, too arrogant they said, but it was merely for a self pride. The backdrop itself changed more than 3 times. The first one got torn off from my wall, the second one looks hideous with colorful paper flowers, and when it just neaaarly came to dead end, i saw Oh Joy page and this page on Pinterest, and VOILA! they gave me the idea for my backdrop.


The basic idea is the fringe. You could use it for anything, it instantly make the party goes pop! just make sure use the right color. Fringe also can be made from any materials. Paper, fabric, leather, you name it.
Not so many pics during the process (only have two pictures), but i have this one just in case you curious how exactly to do this.


Heart Fringe Backdrop
This tutorial is in Bahasa and English.

English Vers :
Supplies :
- 10 sheets white crepe paper (or neutral color you love)
- Blue and pink (or any color you like for heart shape) crepe paper, 3 sheets each
- Cardboard size 20cmx20cm (i taped two cardboard into one)
- Glue or double sided tape

How To :
1. Prepare the cardboard. Because i used 2 cardboard so i merge them into one by using tape.
2. Print with A3 size paper the Heart shape (get it here) and trace onto the cardbord using pencil.
3. Take one sheet of crepe paper and start to make fringe (approx height : 4 inc), and make this with all the crepe you have.
4. Glue or tape it onto the cardboard, start from the bottom.
5. If you already done with half of the cardboard, start to make the fringe for the heart shape by using the color crepe paper.
6. Dont forget to trim the edge of the fringe along with the heart shape.
7. Continue with the white crepe paper until everything covered.
8. Done!

Tips :
- You can hang the cardboard using string or rope.
- If you hate to see the color of the cardboard, you can cover it with paper first before trace the heart shape.

Bahasa Vers :
Bahan :
- 10 lembar Kertas krep warna putih (atau warna netral)
- Kertas krep warna pink dan biru (atau warna apapun untuk bentuk hati) masing-masing 3 lembar
- Kardus bekas ukuran 20cmx20cm (saya menggabungkan 2 kardus sisa dengan lakban hitam)
- Lem kertas atau double tape

Cara:
1. Siapkan kardus. Karena saya menggunakan 2 kardus, saya menggunakan lakban hitam untuk menyatukan keduanya.
2. Print pola hati dengan kertas A3 (ambil disini) dan gambar di kardus.
3. Ambil satu lembar kertas krep warna putih, lipat menjadi 2 dan buat rumbai-rumbai dari kertas krep, kira-kira ukuran tinggi 10cm
4. Tempel di luar gambar hari dengan menggunakan lem atau double tape. Mulai dari bawah.
5. Jika sudah sampai setengah dari kardus, mulai tempel kertas krep warna untuk pola hati. Mulai dari bawah.
6. Gunting bagian pinggir-pinggir mengikuti pola hati
7. Lanjutkan menempel kertas krep warna putih sampai tas kardus.
8. Selesai!

Tips:
- Gantung kardus dengan tali atau benang wool
- Jika warna asli kardus terlihat terus, tempel kertas diatas kardus sebelum menggambar pola hati.


Not too difficult to do but you need all the patient you have because if you're using bigger cardboard, you need to cover it all and it takes time. I finished two of them in 5 hours (more less). Call your friends for help, it makes a lot easier and faster to do.

Love,
Szasa

Blogger

Backdrop

12:47 PM

Oh hello there, where was i? hmm been busy with some "Very Important Occasion" and some other stuffs and work and laziness. So, last night i had this major breakdown because the backdrop i made since last week starting to fall off piece by piece, and at night when i asleep, it fell on me but i just really sleepy so i just get back to sleep again. But in the morning i realized my room looks disastrous. I started to blame the tape, the ugly color, my wall (because it couldn't hold my backdrop perfectly), and go on and on and on. But thankfully while i pinterest-ing (yes, it's a new verb now, just admit it) i saw these cute backdrop which very easy (why i didnt think about it at first) and very quick to make. 
ps : Thank you Oh Joy! I love you so so much you just save me from mental breakdown. Here's my favorite,

Big Heart Fringe Backdrop


Streamer Garland


Tissue Paper


Streamer Backdrop


Let's pick one and start re-doing it again. and side note, do ask for help. Because those backdrop won't finish easily.

Love,
Szasa

DIY

Eid Greeting Card

10:47 AM

Two days more, and i'll be home! But before that, like last year, i want to give some of my friends the Eid greeting card. Well, i want it to be annual to do before Eid. Unlike last year, i didnt buy the card for this year, i made it myself. Not entirely made from the scratch, i edited from here and here and added some milk candy.


I made 5 color for each group, but i forgot to take pictures the other three.


Have a safe mudik! Say warm hello to your family. Ramadhan Kareem!

Love,
Szasa

DIY

Wood Burner

3:36 PM

I've been seeing these particular tools through Pinterest. It's like drawing on the wood with very hot tool (i mean reaaally hot, just be careful). It's like soldering tool but has various tip. So i hunt this tool down.
First i was visiting ACE Hardware in GI, they said it was out of stock. I searched in craft store, they didnt have it. When i was in Bandung, Ibnu took me to the biggest ACE Hardware store in city and yay they have it! Mine is from Krisbow, they have six different pattern tips. If you want more various tip, you could buy the bigger one.


Let's try this bad ass tool! At first, it was really take the time to wait the tool to heat up.


If you want to change the tip you need to wait the tool to cool down first. Because like i said before, it's really hot. We really need practice to use this tool because sometime so hard to do swirl or anything except straight line pattern. Choose wood material like pine wood or oak.

Pinterest has many many pattern idea for wood burner, my eyes on the alphabet tip. Do you know where can i buy it? (please dont mention Amazon or Ebay, because i hate the pricey shipping cost T.T )

Happy making!

Love,
Szasa

Blogger

It's Not a Party Without Balloons

10:37 AM

Same with the term "You're the butter to my bread, the apple of my eyes", party without balloon (lots of them!) can not be called as a party. Thankfully so many people agree on this term. They make this festive balloons, or this crazy balloons ceiling!


Source : 1/2/3/4/5/6/7/8/9/10

From Birthday to Wedding, from the actual balloons to a Cake! Too bad i dont have any skill to blow up balloons (suck, i know).

Love,
Szasa